
In the fiercely competitive real estate market, beautiful photos are the first “sales weapon”. Taking good photos is important, but real estate photo editing is the decisive step to bring a sense of life, professionalism and attract viewers. Below are 10 Tips for Real Estate Photo Editing to help you improve the quality of images and increase the conversion opportunity for each project.
10 Tips for Real Estate Photo Editing
1. Start with high-quality photos
Good editing only works when you have a good foundation. Make sure to:
- Use a DSLR or mirrorless camera.
- Stable lighting, use a tripod to avoid shake.
- Bracketing 3 to 5 shots at different exposure levels makes it easier to handle HDR later.
- Pro tip: Avoid using your phone to take photos in large spaces or low light – the image is very difficult to handle later.
2. Edit HDR Basic to retain details in the bright and dark areas

In real estate photos, balancing the light between the interior and exterior is extremely important. HDR (High Dynamic Range) technique allows you to combine many different exposures into 1 complete image.
Tips when processing HDR:
- Do not let the image be too fake or “gray” in color.
- Use software such as Lightroom, Photomatix or AI-based HDR such as Flambient Blend.
- SEO Note: When using real estate photo editing services, look for a provider that supports natural HDR blending, keeping the real feeling of the space.
3. Correct white balance
Incorrect white balance will cause the color of wall paint, wood or light to be distorted. Do:
- Use daylight preset to edit exterior photos.
- For interiors with yellow lights, reduce the color temperature to avoid yellowing the photo.
- Good practice: Always check the white color on the wall or curtains – if there is a big deviation, the entire photo color tone needs to be rebalanced.
4. Perspective Correction
Wide-angle lenses often cause curved walls and distorted ceilings – distorting the perception of real space.
How to fix:
- Use the Transform tool in Lightroom or Lens Correction in Photoshop.
- Adjust the vertical and horizontal lines to the correct vertical direction – helping the space to be balanced and professional.
5. Sharpen without noise
After adjusting the brightness, HDR, white balance, the image may become a bit soft. Don’t forget:
- Use Sharpening at a moderate level.
- Combine Noise Reduction if the ISO is high or shooting in low light conditions.
- Especially important when shooting small spaces such as bathrooms, kitchens – where clear details are needed.
6. Remove distracting objects (Object Removal)
Some distracting elements need to be handled such as:
- Electrical sockets, cables, trash cans, people in mirrors…
- Use the Clone Stamp tool or AI-based content-aware fill.
- Advanced tip: With drone real estate photography, remove vehicles, signs or unfinished construction to highlight the house.
7. Beautify the sky and natural light
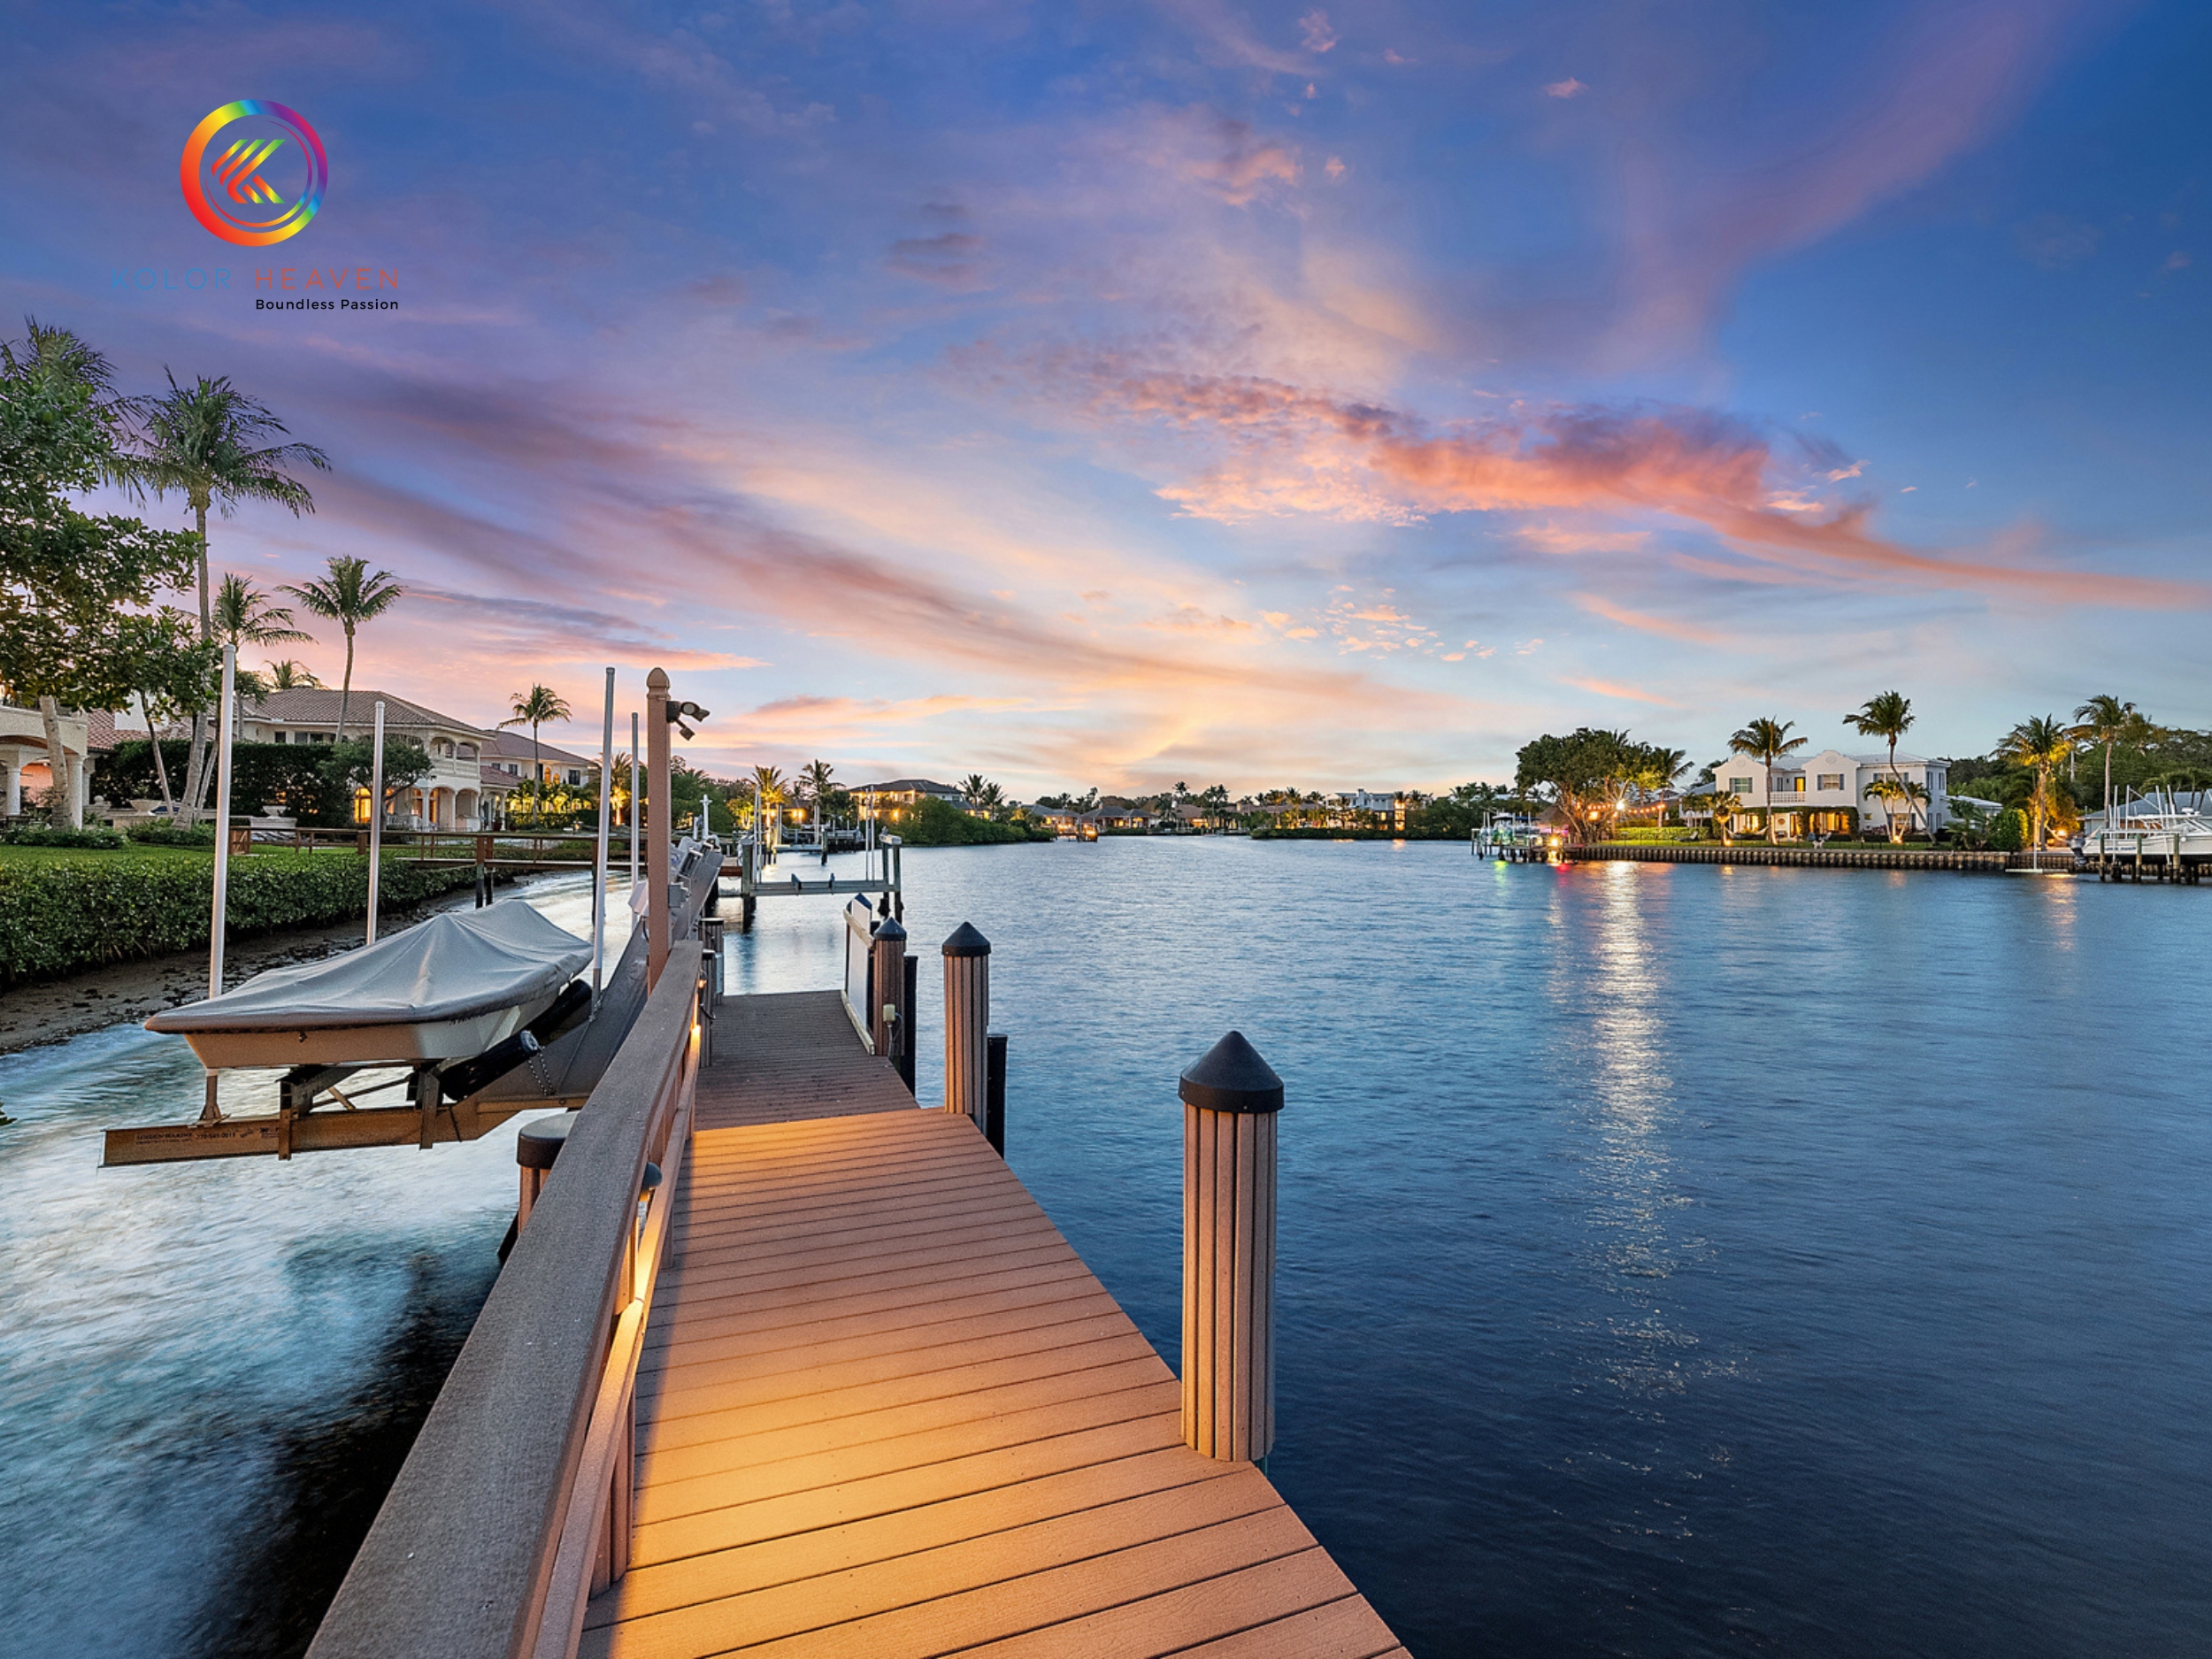
A dull grey sky can detract from an image. Do:
- Replace the sky with the Sky Replacement tool in Photoshop.
- Increase the warmth of the interior lighting to create a pleasant feeling.
Note: Do not replace it with a sky that is too “fake” or a sunset that is too bright – keep it natural.
8. Add light (Light Boost) in the right places
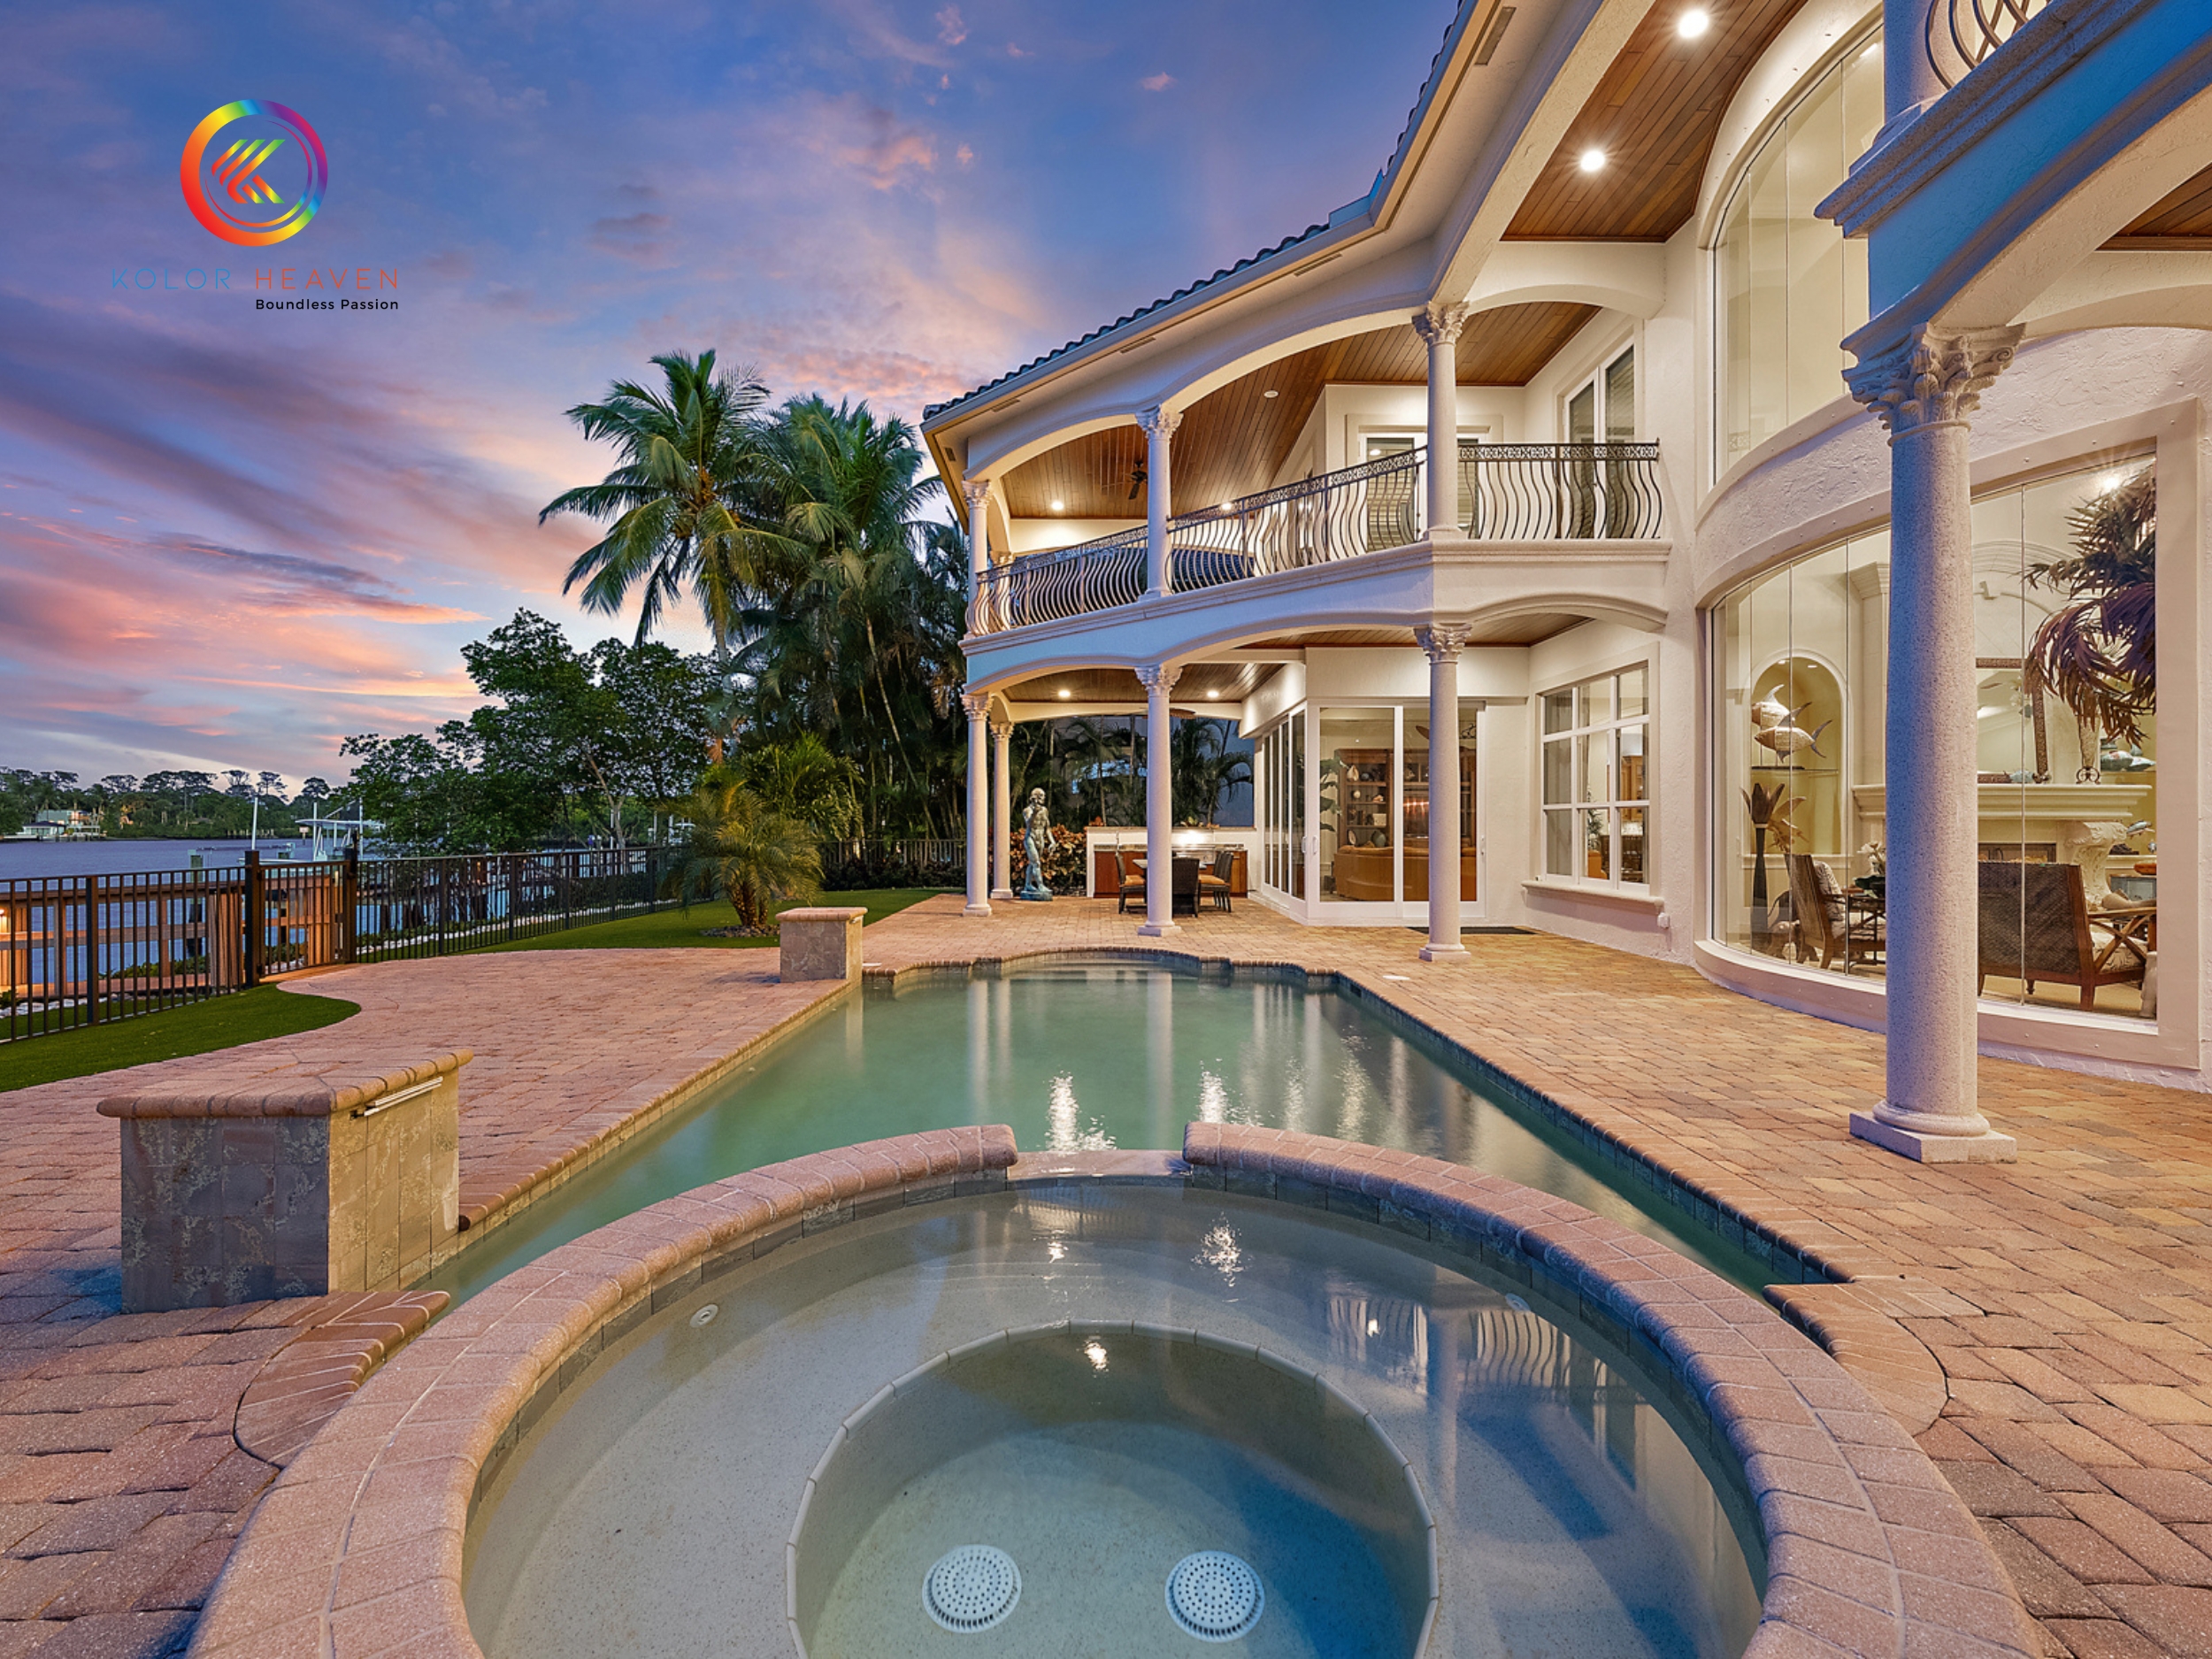
Instead of brightening the entire image, brighten it intentionally:
- Brighten the dining table, sofa, window area…
- Use the Radial Filter or Brush Tool in Lightroom to highlight details.
- Help viewers focus on the most valuable areas of the house.
9. Synchronize color and light between rooms
If a real estate photo set has 10-15 photos, it is taboo for each photo to have a different color tone and light style.
How to do:
- Edit 1 sample photo → copy settings to other photos in Lightroom.
- Check each image for individual tweaking (if necessary).
- This is especially important for commissioned photography projects or real estate photo editing services for international clients.
10. Export images to the correct standard and size
Finally, make sure:
- Exported images are not compressed or broken.
- Standard size: 3000px or larger, JPEG format with 80–90% quality.
- For web images, keep the size around 2000px, compress with TinyJPG to speed up page loading without reducing quality.
Professional real estate photo editing service from KOLORHEAVEN
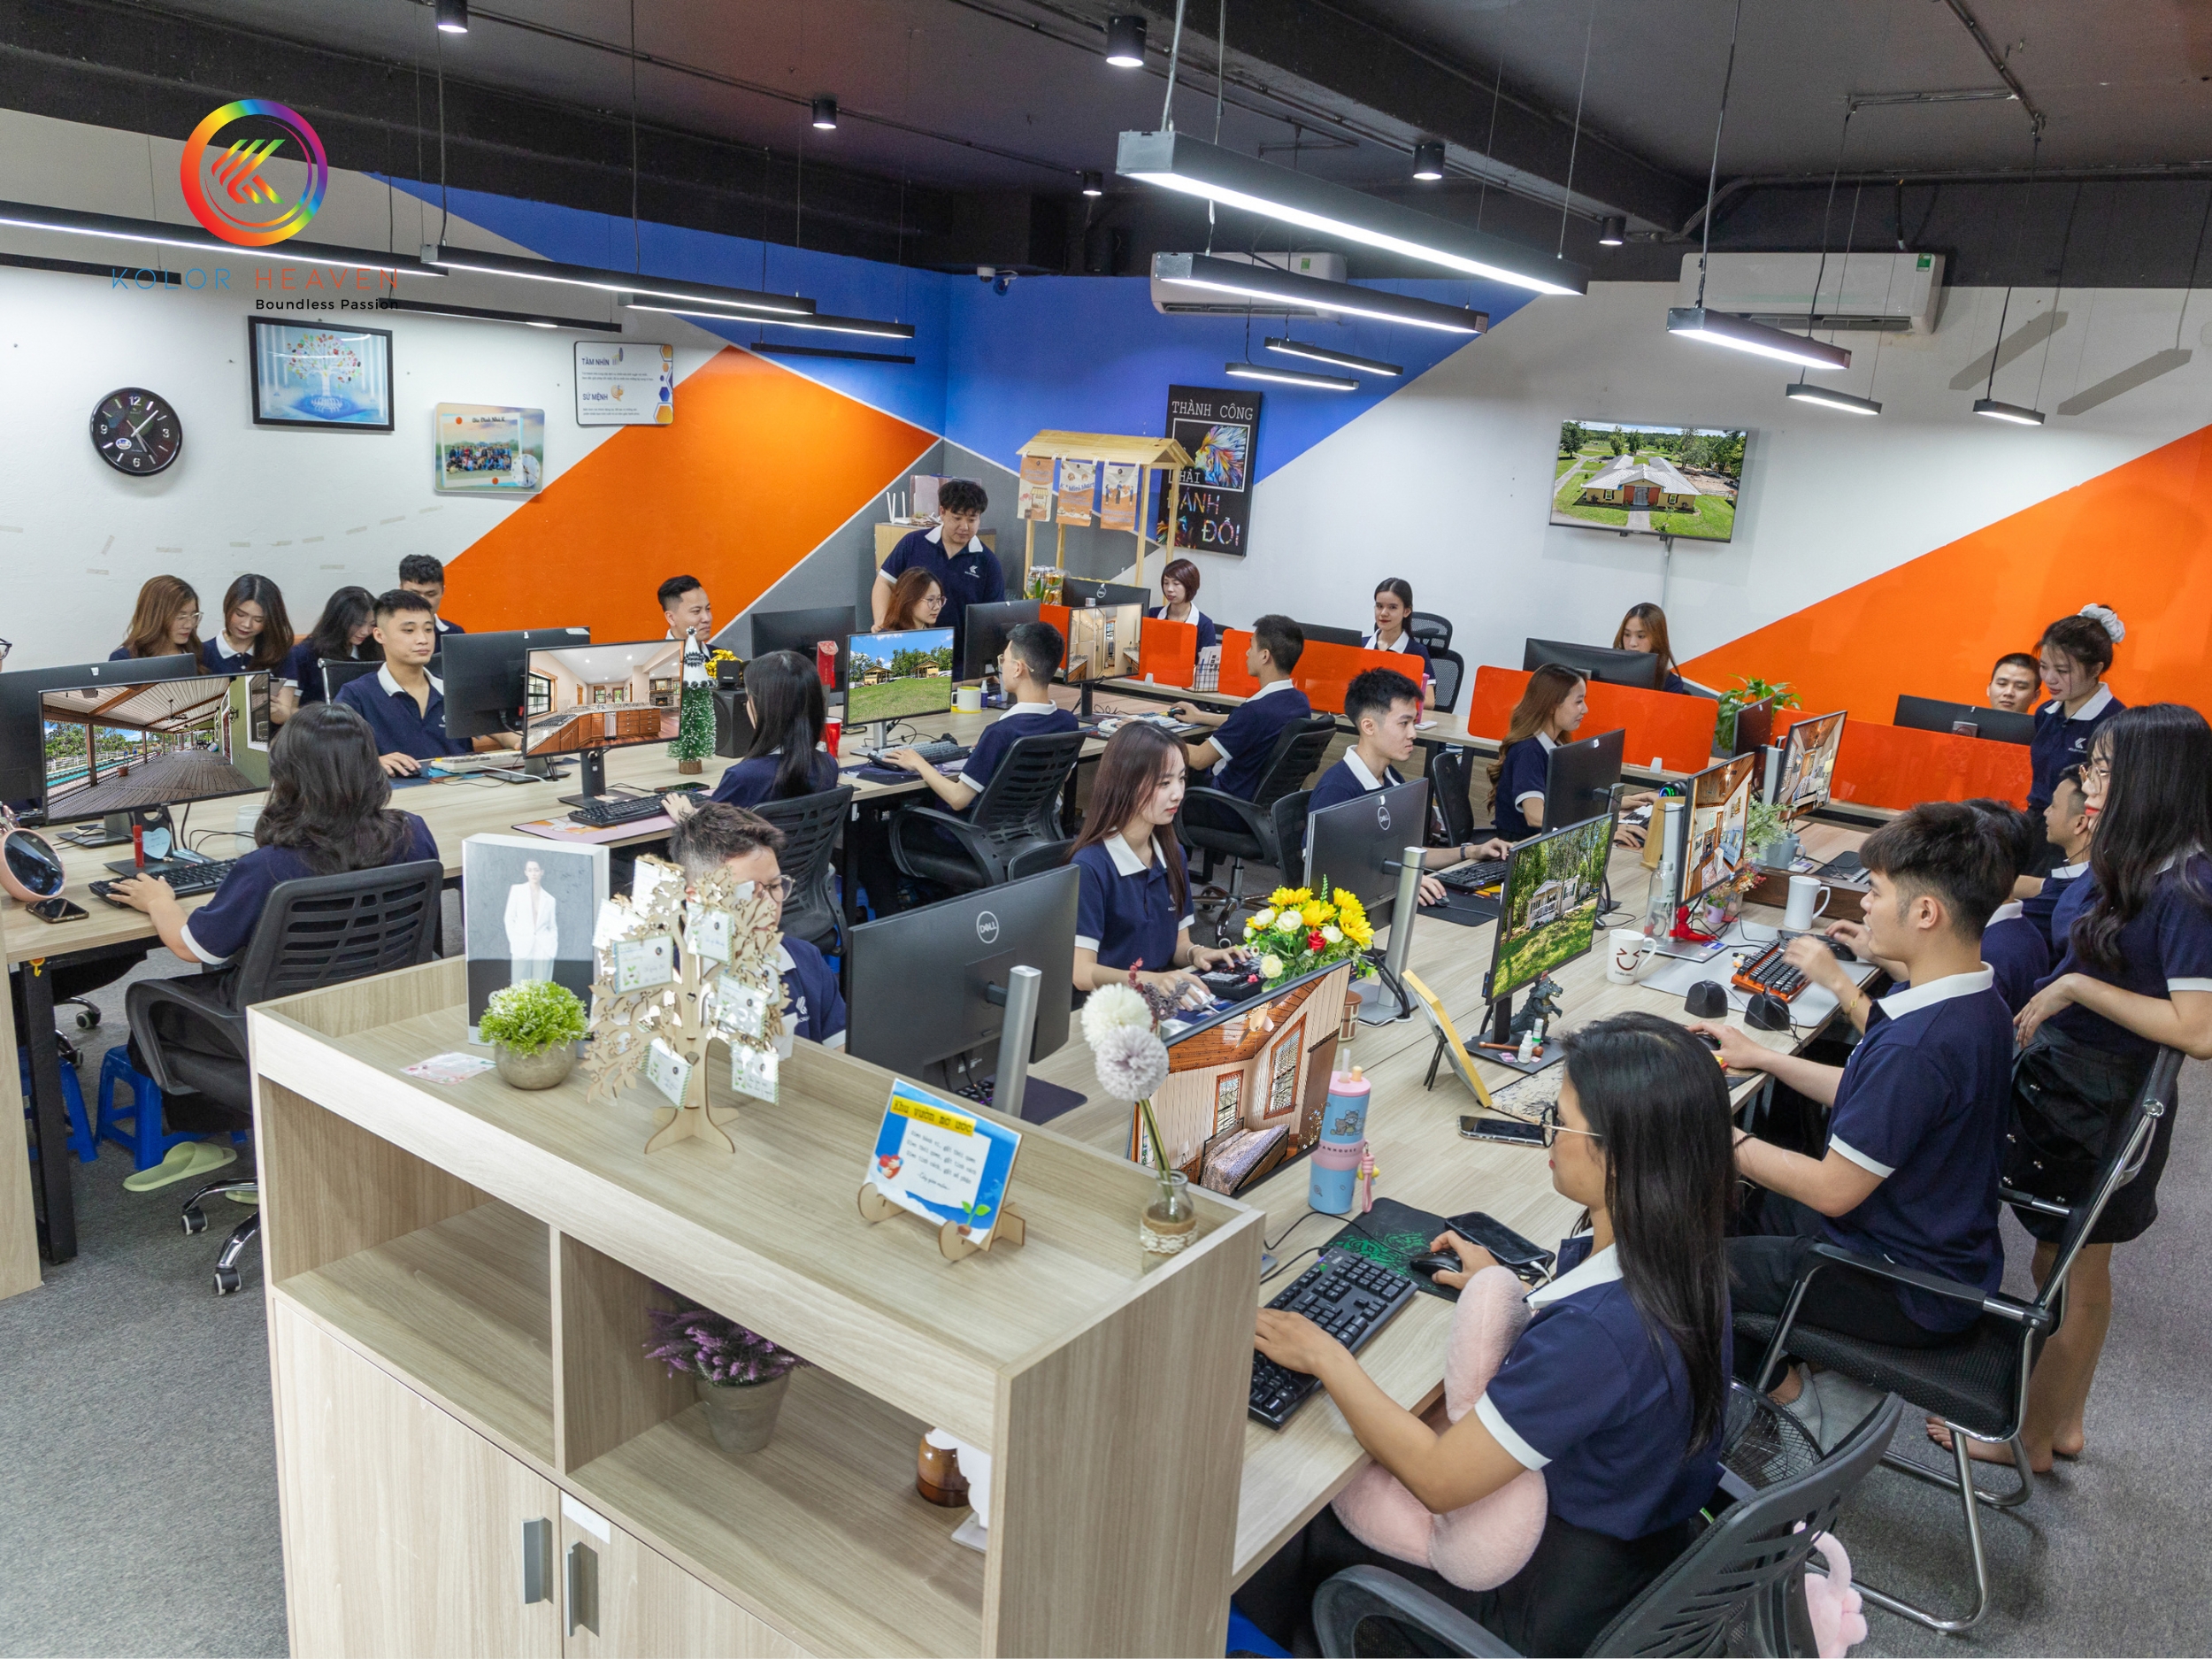
With more than 10 years of experience serving the US market, KOLORHEAVEN has become a trusted partner of thousands of photographers, brokers and real estate companies in the US. We do not simply provide photo editing services, but also bring a comprehensive image solution, enhancing the value of each property in the eyes of buyers.
1. Team of specialized photo editing experts
At KOLORHEAVEN, each real estate photo is processed by a team of experienced retouchers – knowledgeable in lighting techniques, perspective alignment, detailed processing, helping the image become sharp, realistic but still outstanding. We strictly adhere to the US market standards for real estate photos: reasonable brightness, true color, no distortion of reality – ensuring the spirit of “show the best, stay honest”.
2. Flexible photo editing packages – suitable for all needs
KOLORHEAVEN currently offers 3 main service packages:
- HDR Basic: For basic photo sets in good lighting conditions, only needing color balance and light adjustment.
- Standard Edit: Suitable for most interior and exterior photography needs, including advanced color balance, horizon straightening, removing small objects, sky replacement, etc.
- Premium Edit: Processing details according to high-end requirements such as replacing sunset skies, landscape merging, enhancing overall color tones to create a luxurious and cozy feeling – ideal for high-end real estate.
- All packages have a fast processing time – only 12–24 hours and are reviewed through many steps before handover.
3. Additional Services: Elevate Real Estate Images
In addition to basic photo editing, KOLORHEAVEN also provides additional services to make images stand out, including:
- Drone Real Estate Photography Editing: In the era of online real estate, aerial shots bring great visual advantages. KOLORHEAVEN provides specialized editing services for drone photos – optimizing color, light and spatial highlights to highlight the geographical location, land scale and surrounding infrastructure connections.
- Twilight Editing: Convert daytime photos into shimmering sunset scenes – a technique that impresses buyers with a warm, romantic and luxurious feeling.
- Virtual Staging: For vacant properties, virtual staging services help arrange the interior reasonably, creating vivid inspiration for viewers to easily visualize the space. KOLORHEAVEN uses professional 3D photo editing software, closely coordinating with customers to create beautiful and realistic spaces.
4. Commitment to quality and accompanying customers
We understand that speed and accuracy are vital factors in the real estate industry. Therefore, KOLORHEAVEN always commits to:
- Photo processing time as committed, ensuring progress of posting house for sale, marketing campaign.
- Edit according to detailed requirements, receive feedback and re-edit for free if not as desired.
- Absolute confidentiality of photo and project information, 24/7 customer support with a professional English team.
- At KOLORHEAVEN, each photo is an inspiring visual story, connecting buyers and real estate. Whether you need to edit interior photos, create a professional virtual staging space, or process drone photos – let KOLORHEAVEN become your trusted imaging partner on your ever-growing Drone Real Estate Photography journey.
Conclusion
Real estate photo editing is not simply about making photos more beautiful – it is about optimizing visual emotions, helping customers feel the true value of the space. Whether you are a professional photographer or a real estate broker, knowing these 10 tips for real estate photo editing will help you create a strong competitive advantage. If you are looking for a professional photo processing unit, supporting both Drone Real Estate Photography and natural Blend HDR, choose a partner with practical experience and a clear workflow – like Kolor Heaven, which is serving hundreds of customers in the US market.