

Real estate photography for beginners is an essential starting point for anyone looking to enter the field of property photography with a clear and practical foundation. This guide focuses on the core concepts beginners need to understand, including how real estate photography differs from general photography, the role of light and space in selling a property, basic equipment requirements, and fundamental camera settings. Rather than diving into overly technical details, the article emphasizes realistic expectations and a structured workflow to help beginners avoid common mistakes and produce images with real commercial value.
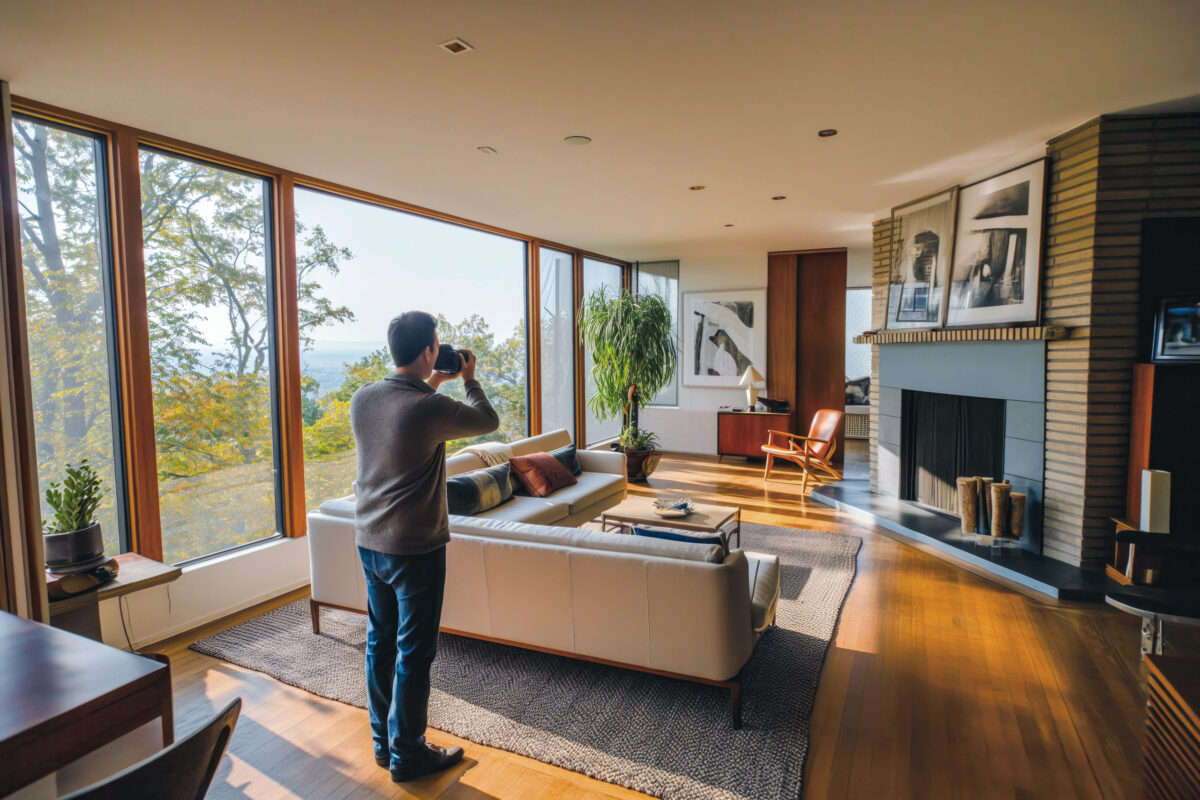
What Beginners Need to Know About Real Estate Photography
Real estate photography is a specialized form of photography focused on presenting properties in a way that attracts buyers and drives inquiries. Unlike general photography—where creativity or personal expression may be the priority—real estate photography is goal-oriented and market-driven.
The key difference lies in what the image is meant to communicate. In real estate photography, the subject is not furniture, décor, or architectural details alone, but the space itself: how large it feels, how light moves through it, and how comfortable or inviting it appears. Every image is intended to help viewers imagine themselves inside the property.
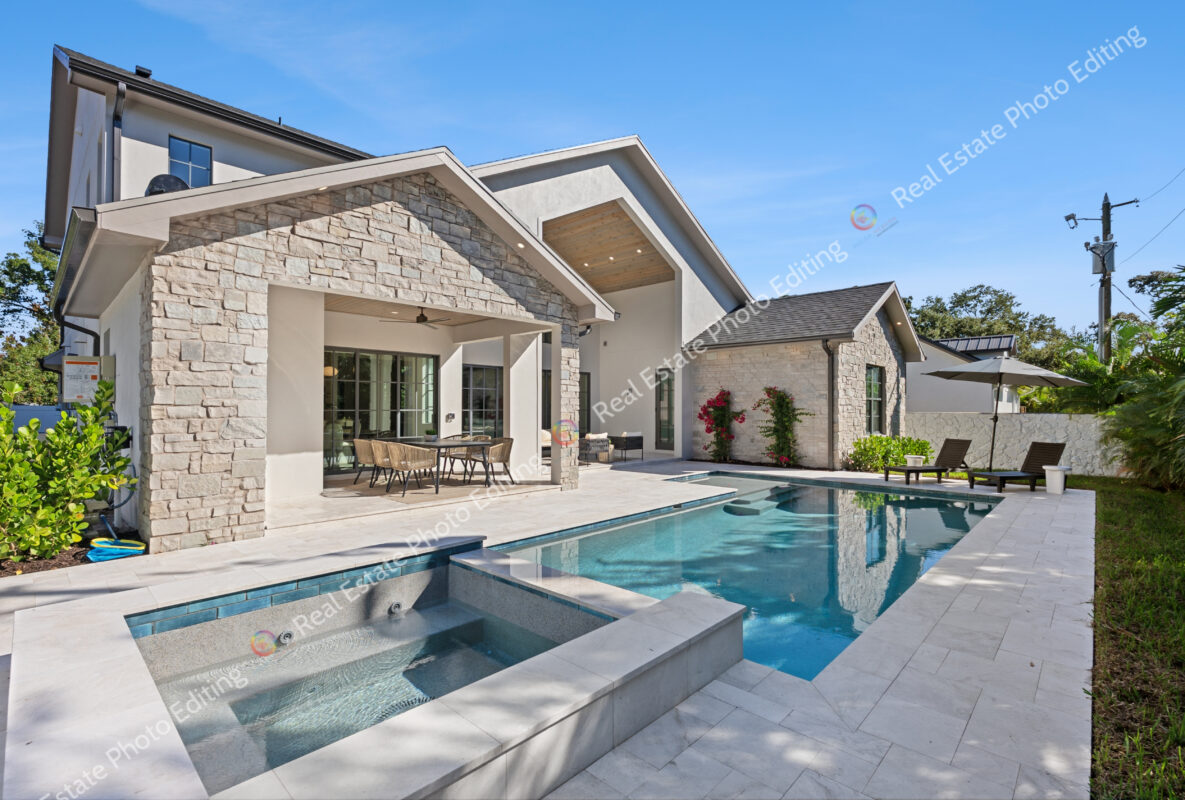
For beginners, it is important to understand that real estate photography is less about artistic experimentation and more about consistency, accuracy, and clarity. Images must look appealing, but also truthful. Overly dramatic lighting, exaggerated colors, or creative angles that distort space can reduce trust and hurt a listing’s credibility.
At its core, the goal of real estate photography is to sell space, light, and atmosphere. Successful images make rooms feel open, balanced, and well-lit. They guide the viewer’s eye naturally through the property and create an emotional response without looking artificial. This balance between visual appeal and realism is what makes real estate photography challenging—and valuable.
Beginners should also set realistic expectations. Early results may not look like high-end listings seen online, and that is normal. Real estate photography is a skill built through practice, repetition, and refinement. Understanding light, mastering camera control, and learning post-production workflows all take time. What matters most at the beginning is building a solid foundation and developing consistency rather than chasing perfection.
Basic Equipment and Camera Settings for Beginners
Getting started with real estate photography does not require the most expensive gear, but it does require the right tools and basic technical control. A simple, reliable setup allows beginners to focus on composition and lighting rather than fighting equipment limitations.
For beginners, the goal is not to build a complex kit, but to cover the essentials that consistently deliver usable results. A typical beginner-friendly setup includes:
- A DSLR or mirrorless camera with full manual control and RAW support
- A wide-angle lens that captures entire rooms naturally
- A sturdy tripod to ensure sharp images and consistent framing
The camera body does not need to be high-end, but it should allow control over exposure settings. A wide-angle lens—commonly in the 16–24mm range on a full-frame equivalent—helps convey space without introducing excessive distortion. A tripod is non-negotiable in real estate photography for beginners, as slower shutter speeds and exposure bracketing are part of standard practice.
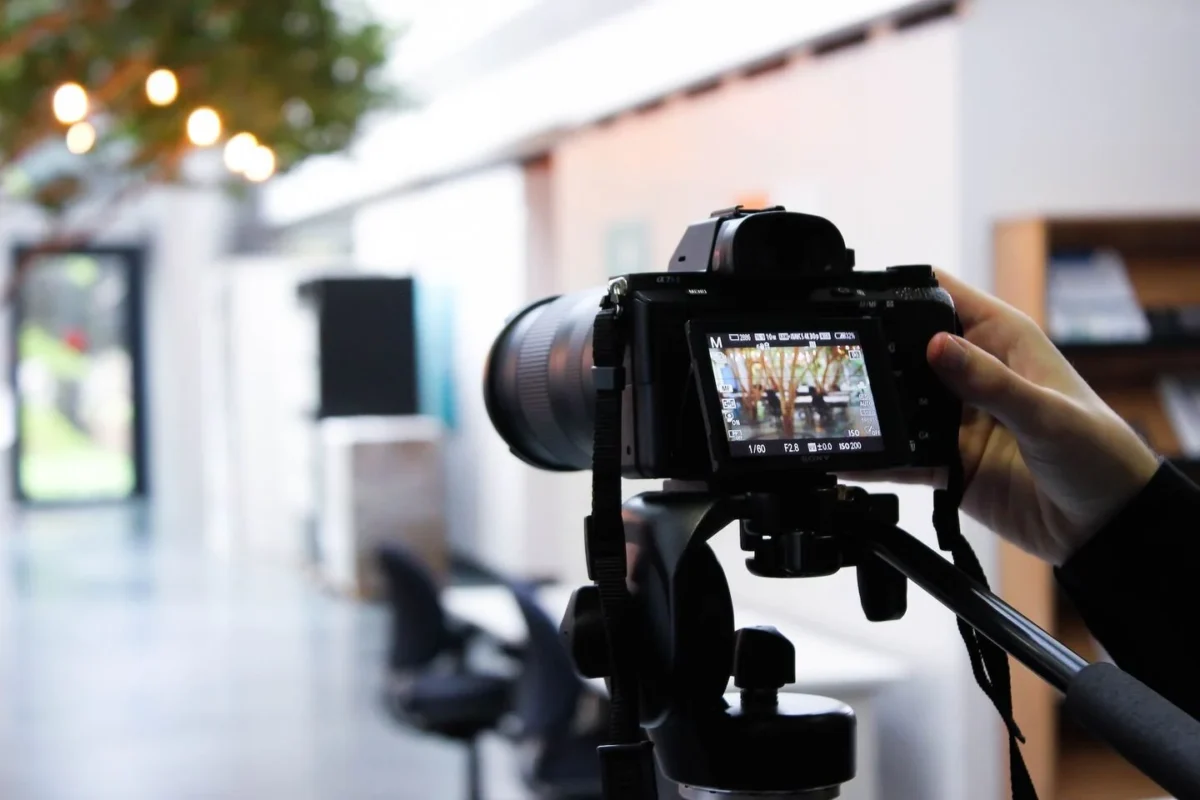
Once the basic equipment is in place, understanding a few key camera settings makes a significant difference in image quality. Aperture is typically set between f/8 and f/11, which provides enough depth of field to keep the entire room sharp. ISO should remain low, ideally ISO 100–200, to preserve image detail and avoid noise, especially in shadow areas.
White balance also plays an important role, particularly in interiors where mixed lighting sources are common. Instead of relying entirely on auto white balance, beginners should aim for consistency—either by selecting a suitable preset or correcting color temperature during post-processing—to avoid noticeable color shifts between images in the same listing.
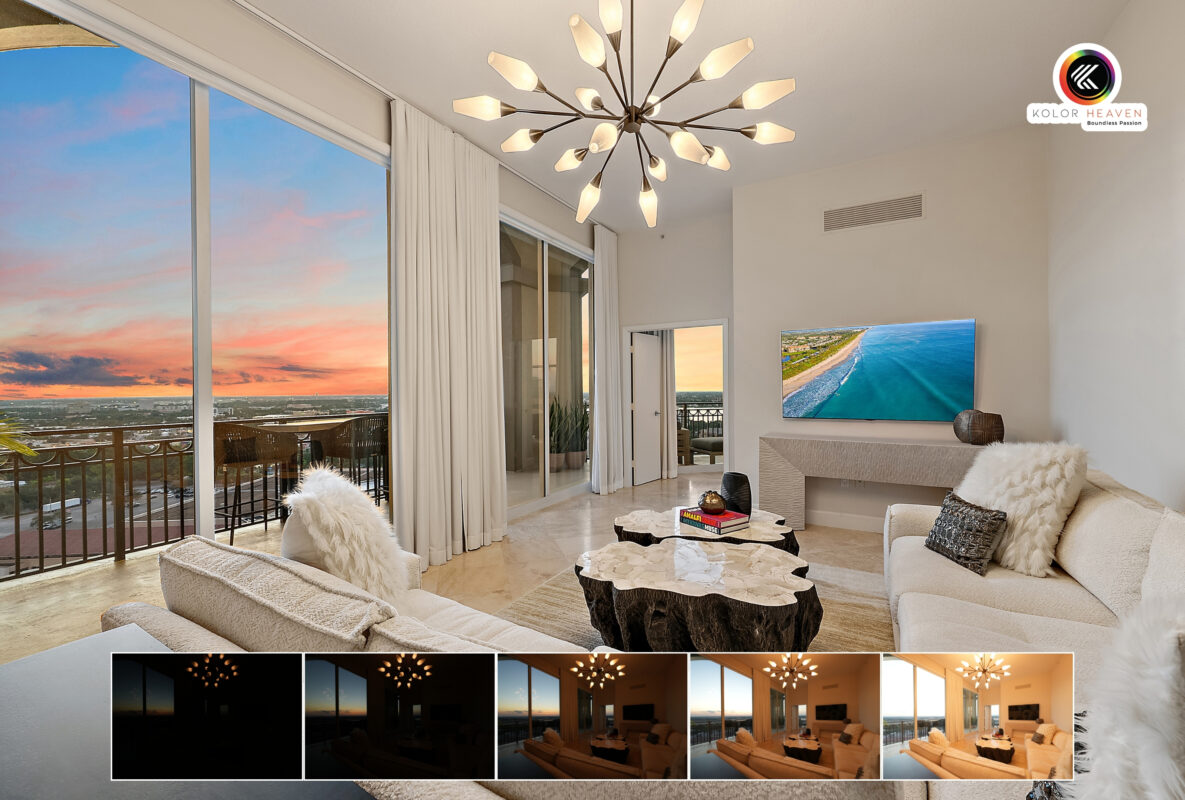
Bracketing photography is one of the most useful techniques for beginners to learn early. Rather than capturing a single exposure, the camera records multiple images at different brightness levels. This method helps balance bright windows and darker interior spaces during editing. Beginners do not need advanced setups; starting with three exposures is usually sufficient for most properties.
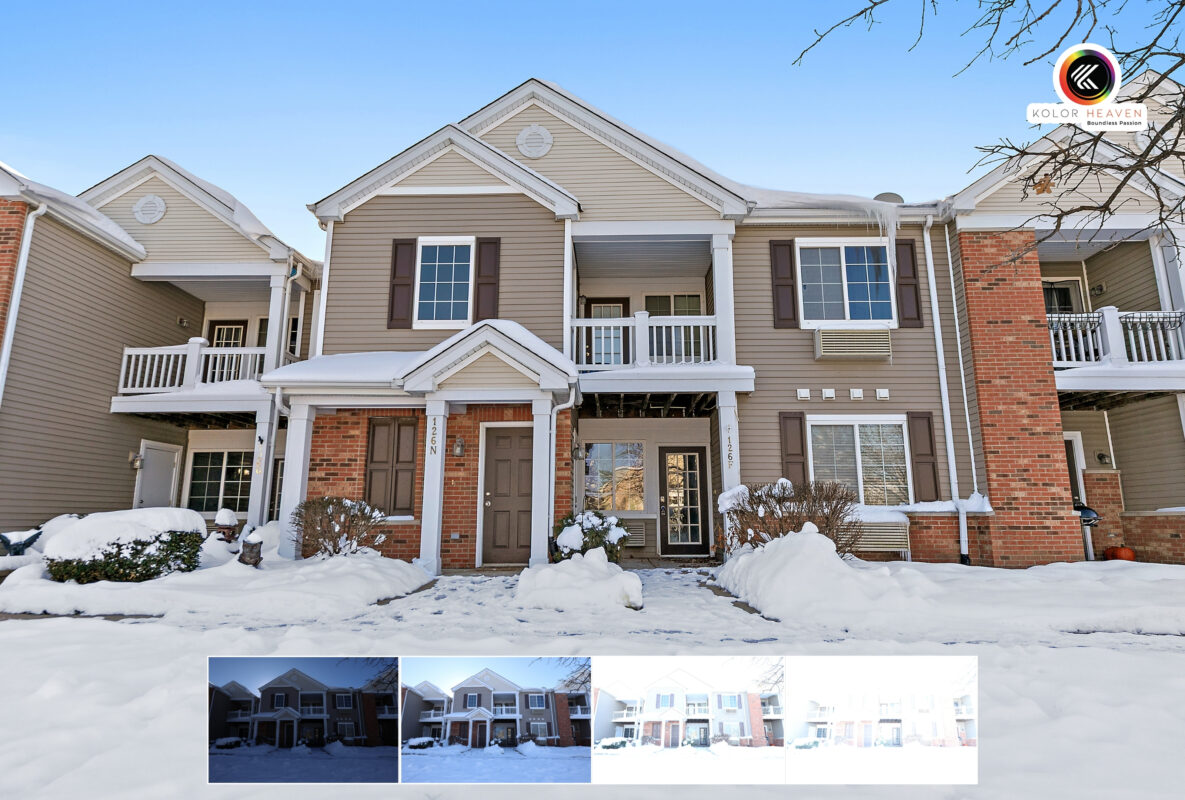
By mastering this combination of basic equipment and essential camera settings, beginners can produce images that are technically solid and commercially usable. From that point forward, improvement comes less from buying new gear and more from refining technique, consistency, and workflow.
How to Shoot Real Estate Photos Step by Step
For beginners, real estate photography works best when it follows a clear, repeatable process. A structured approach helps reduce mistakes, improves consistency, and makes it easier to evaluate results after each shoot.
Prepare the Space Before Shooting
Good real estate photos start before the camera is turned on. Preparation has a direct impact on how clean, spacious, and professional the final images appear.
Key preparation steps include:
- Removing clutter and unnecessary personal items
- Straightening furniture, curtains, and décor
- Turning on all interior lights for consistent illumination
- Opening blinds or curtains when appropriate to introduce natural light
That said, preparation does not always need to be perfect at the shooting stage. Working with a strong post-production team can significantly reduce the amount of on-site staging required. Many visual distractions—such as small clutter, uneven lighting, reflections, or minor inconsistencies—can be efficiently handled during post-processing without compromising realism.
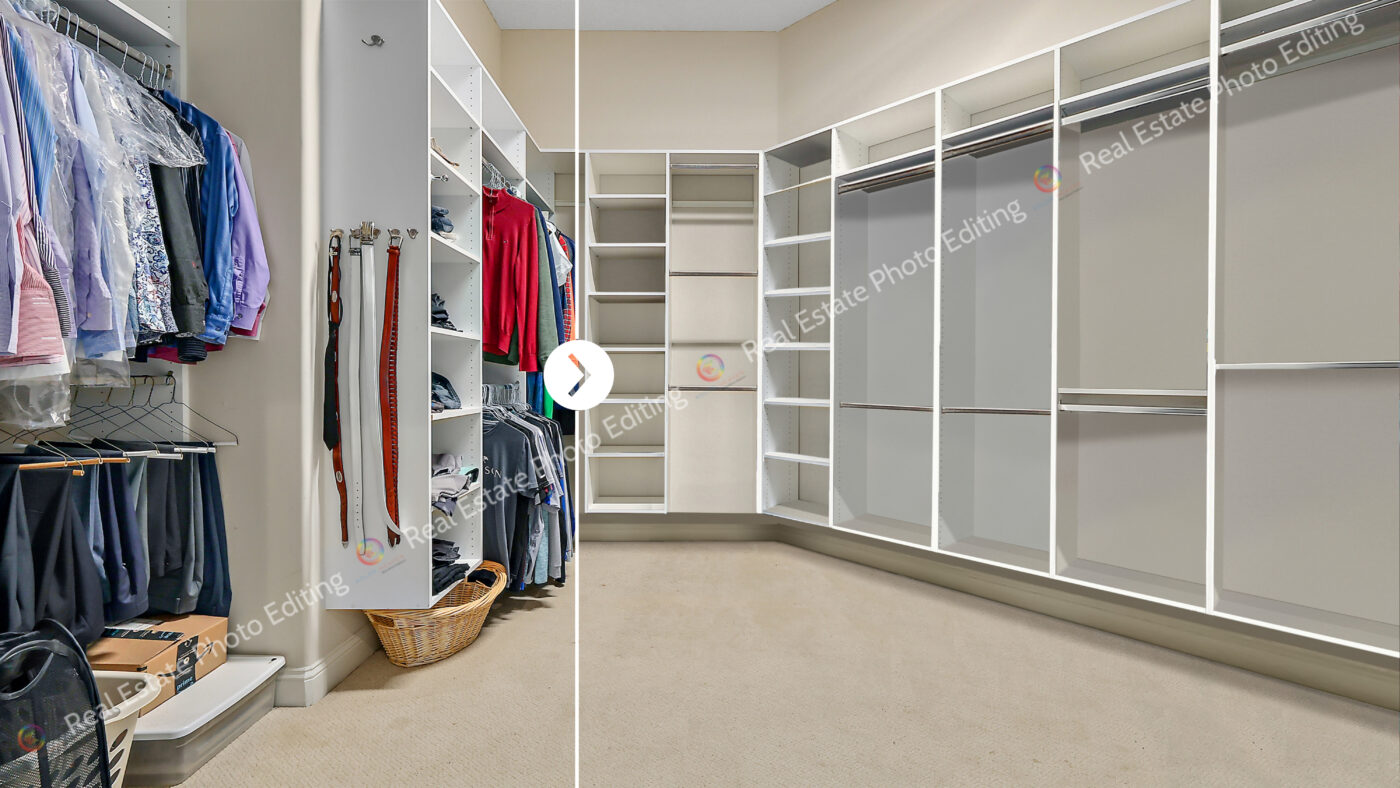
This flexibility is especially valuable for beginners, high-volume shoots, or time-sensitive listings . Instead of spending excessive time perfecting every detail on location, batch editing real estate photos allows photographers focusing on capturing clean, well-composed images, knowing that a professional editing team can refine and polish the final result.
For exterior shots, however, some physical preparation remains essential. Large objects like parked cars, trash bins, or major foreground obstructions are best addressed on-site, as they directly affect composition and perspective.
From Shooting to Final Images: Editing and Next Steps for Beginners
Many beginners assume that a well-shot photo is ready to publish straight out of the camera. In real estate photography, this is rarely the case.
Why RAW Images Are Not Ready for Listings
RAW files are designed to capture maximum data, not to look finished. They often appear flat, low-contrast, or slightly off in color when viewed without editing. This is normal and expected.
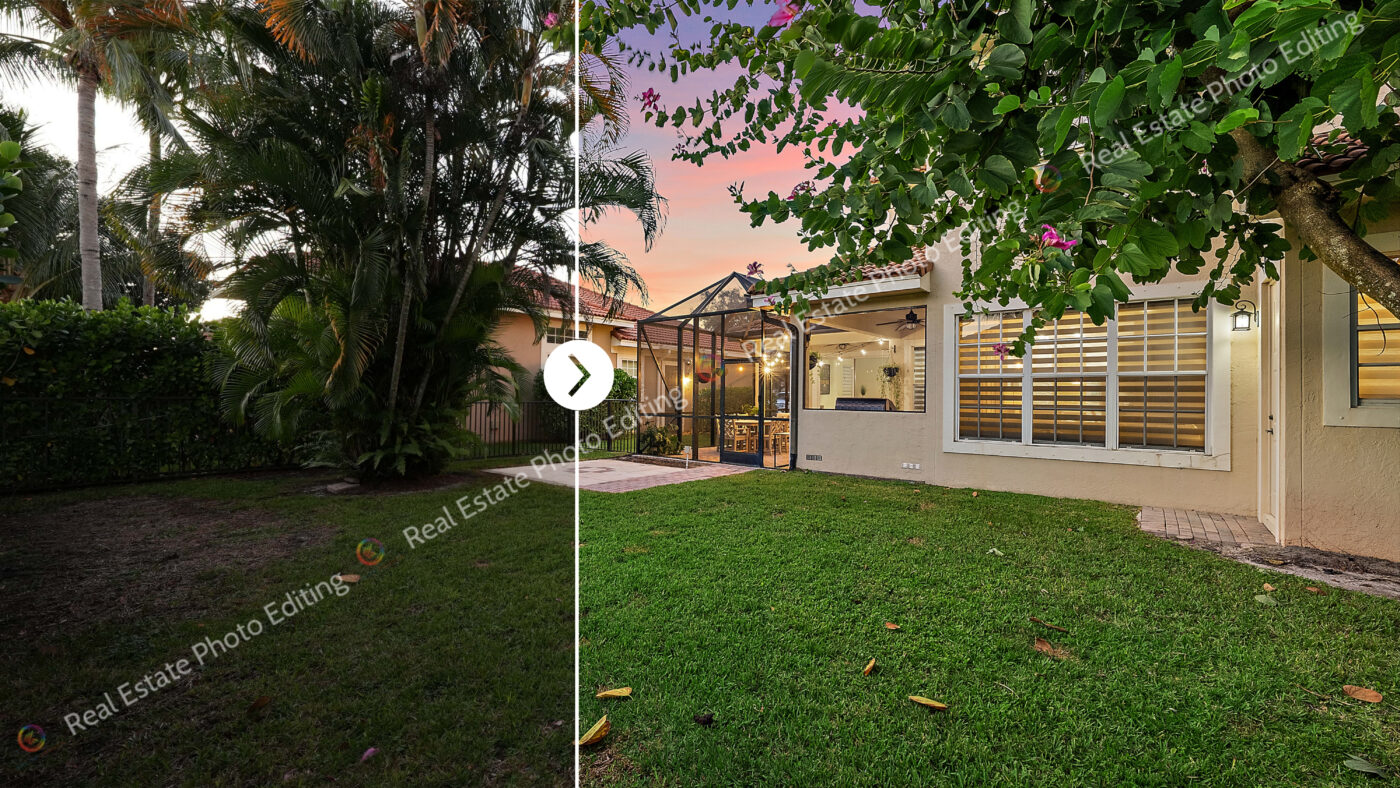
Post-processing is what transforms technically correct photos into images that are suitable for real estate listings and marketing platforms.
Editing helps balance light, correct color inconsistencies, and ensure that spaces look natural yet inviting. It bridges the gap between what the camera records and how the human eye perceives a space.
For beginners, editing also serves as a learning tool. Reviewing and adjusting images after a shoot helps identify recurring mistakes in exposure, composition, or white balance.
Should Beginners Edit Themselves or Outsource?
At the early stage, beginners often benefit from editing their own work to understand the relationship between shooting decisions and final results. However, there are situations where outsourcing becomes a practical choice.
Beginners may consider:
- Editing in-house when learning fundamentals or working on small projects
- Outsourcing when facing tight deadlines, large volumes, or client-facing work that requires consistent quality
- Both approaches can coexist within a growing workflow.
As skills improve, beginners should aim to develop a workflow that balances speed, quality, and reliability. This includes consistent shooting habits, organized file management, and a clear editing or post-production process.
Over time, treating real estate photography as a system—rather than a single task—makes it easier to scale, collaborate with others, and deliver results that meet professional market expectations.
How Kolorheaven Supports Beginner Real Estate Photographers
For beginners in real estate photography, post-production is often the most time-consuming and technically challenging part of the workflow. Kolorheaven supports new photographers by handling complex editing tasks while allowing them to focus on shooting, learning, and building confidence in the field.
Instead of generic retouching, Kolorheaven works with real estate–specific post-production processes that align with how properties are marketed. This includes balancing interior and exterior light, correcting color consistency across a full photo set, and refining details that improve clarity without compromising realism.
By outsourcing post-production to a dedicated real estate editing team, beginners can reduce preparation time, avoid common technical mistakes, and deliver images that meet professional standards from the start. Kolorheaven also adapts to each photographer’s preferred visual style, helping maintain consistency as skills and project volume grow.
As an extension of the photographer’s workflow, Kolorheaven provides reliable turnaround times and scalable support—allowing beginners to take on more projects with confidence while maintaining image quality and client satisfaction.
Conclusion
Getting started in real estate photography can feel overwhelming, especially when balancing technical skills, creative judgment, and tight delivery timelines. From understanding lighting and composition to managing post-production workflows, beginners face a steep learning curve in delivering images that are both accurate and market-ready.
If you are looking to streamline your post-production process and deliver high-quality real estate images with confidence, Kolorheaven is ready to support your journey as a beginner photographer—helping you build a reliable foundation while scaling toward professional-level results.
Contact Info:
Address: 22 TT1 – Tu Hiep auction site, Thanh Tri, Hanoi
Website: https://kolorheaven.com
Email: kolorheaven@cskolorheaven.com
Fanpage: https://www.facebook.com/Kolorheaven.services