
In real estate photography, lighting is always a big challenge. A room can be dark while the windows are burned white, making the image lose its appeal. HDR real estate photography is the solution to help balance the light, reduce the darkness and create bright, natural photos that attract customers at first sight.
What is HDR and why is it important in real estate photography?
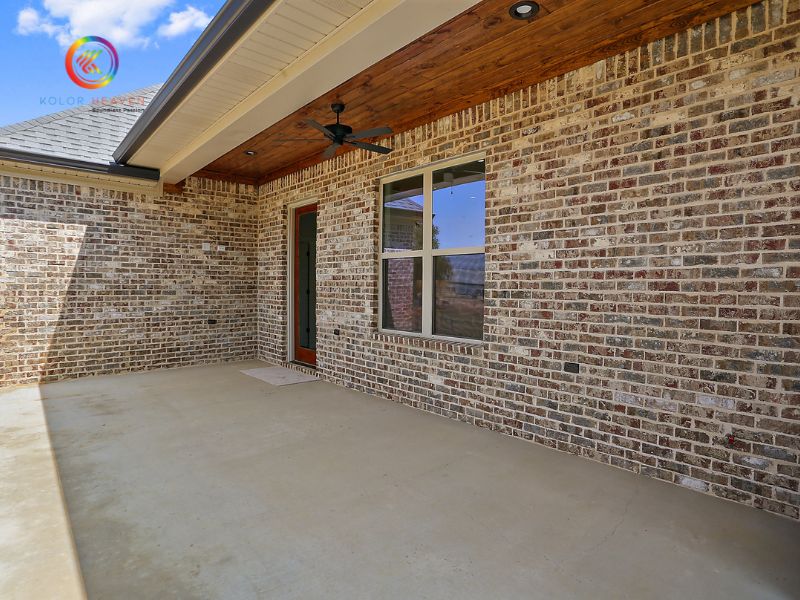
HDR & Dynamic Range – the range of light that the camera cannot see
The human eye can see details clearly in both bright and dark areas at the same time. However, the camera is limited. When shooting real estate:
- If exposed for the interior → the scene outside the window is burned white.
- If exposed for the exterior → the interior is immersed in darkness.
HDR (High Dynamic Range) overcomes this by combining multiple photos with different exposure levels, thereby retaining details both inside and outside.
HDR vs other methods
1. HDR vs Flash
- How it works: Flash adds direct light to the scene, brightening dark areas evenly. Meanwhile, HDR records many different exposure levels and then combines them, recreating natural light.
- Advantages / Disadvantages:
+ Flash: controls the light source, but can easily create an “artificial” feeling, harsh shadows and loss of color uniformity.
+HDR: keeps true light, more balanced between bright and dark areas, but requires more shooting and post-processing.
- Real estate applications: HDR is especially suitable for shooting interiors with windows, helping to keep both outdoor details and natural colors indoors – something that Flash has difficulty doing.
2. HDR vs Exposure Fusion
- How it works: Exposure Fusion combines multiple exposures, but instead of creating a complete HDR image, it directly combines the optimal bright and dark areas from each frame to create a “smoother” image.
- Advantages / Disadvantages:
+ Exposure Fusion: low noise, harmonious colors, fast processing; but easy to lose details in bright and dark areas with too high a difference.
+ HDR: keeps details better in scenes with strong contrast, but sometimes requires more careful post-processing to avoid halo or harsh colors.
- Real estate applications: Exposure Fusion is suitable for spaces with stable lighting (apartments, offices), while HDR is optimal when photographing houses with complex lighting (many glass doors, cross-light).
Why do real estate photos need HDR?
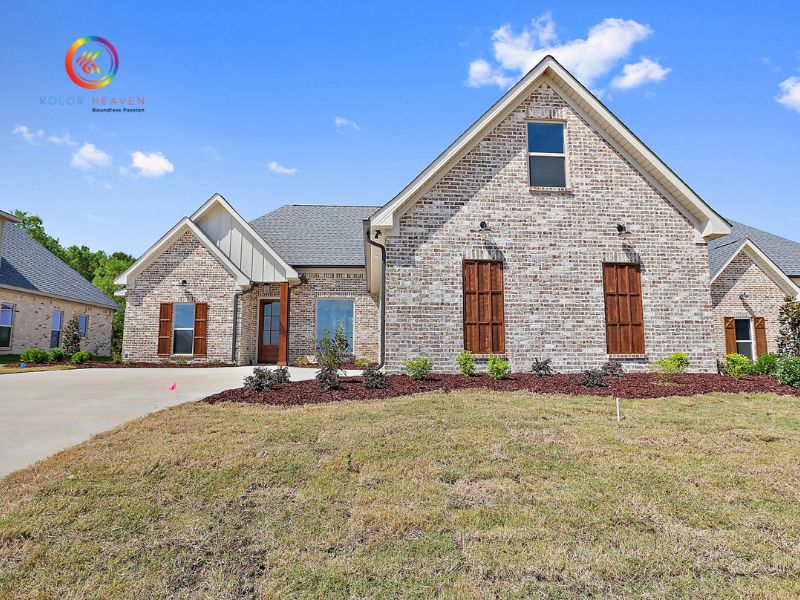
Compared to normal photos, real estate HDR blending brings clear benefits:
- Preserve details: The interior of the room is not immersed in darkness, and the scene outside the window is not overexposed.
- Increase realism: The image is bright, harmonious, close to the way the human eye sees.
- Create a professional impression: When customers view listing photos, they will feel that the house is spacious, bright and easy to visualize in reality.
- Increase business efficiency: According to statistics from NAR (American Association of Realtors), listings with professional HDR photos attract more views and sell faster than normal photos.
According to the American Association of Realtors (NAR):
- Listings with professional HDR photos increase online views by 118%.
- Properties with HDR photos sell 38% faster than listings with regular photos.
HDR is not just a photography technique, it is also an important marketing tool that helps properties stand out and sell faster.
Preparing to shoot real estate HDR
To create a quality HDR real estate photo, the preparation step before shooting plays a very important role. If you do not prepare the right equipment and settings, HDR photos are prone to shaking, lack of detail or look fake.
1. Required equipment
- DSLR or Mirrorless camera with Auto Exposure Bracketing (AEB): AEB feature helps the camera automatically take multiple photos with different exposure levels (underexposed – normal – overexposed). This is the foundation for creating HDR photos.
- Sturdy tripod: A tripod is required to fix the frame. If you hold it by hand, the brackets will be misaligned, leading to ghosting or difficulty aligning when combining HDR.
- Wide-angle lens (16–24mm): Wide angle helps to cover the space better, very suitable for shooting living rooms, kitchens, bedrooms or apartment exteriors.
- Remote trigger or self-timer mode: Helps limit camera shake when pressing the shutter button. A small shake can also distort the bracket, affecting the HDR results.
2. Important settings when shooting HDR
- Save photos in RAW format: RAW retains all light, color, dynamic range data → much easier to edit and blend HDR than JPEG.
- Low ISO (100–200): Low ISO helps reduce noise (grain) in dark areas. Because HDR often brightens shadows, noise will be easily revealed if the ISO is high.
- Aperture f/8 – f/11: This is the “sweet spot” aperture range for sharpness throughout the scene, keeping details from foreground to background in real estate photos.
- Bracketing 3–5 photos with exposure levels (-2EV, 0EV, +2EV…):
- + For moderately bright and dark scenes: 3 bracketed photos are enough.
+ For high contrast scenes (e.g., rooms with lots of light windows): use 5 bracketed photos to keep details in both bright and dark areas. - Important tip – check the histogram: After shooting, check the histogram to make sure you have captured the full dynamic range: no loss of shadow detail (left of the histogram) or highlight detail (right of the histogram).
Standard workflow when shooting HDR real estate

To get a beautiful real estate HDR photo set, technicians need to follow a strict process from camera setup to post-production:
1. Preparation & photography
- Fixed tripod: The camera must be placed on a sturdy tripod to keep the frame consistent between shots.
- AEB (Auto Exposure Bracketing): Turn on AEB mode and take 3-5 consecutive frames at different exposure levels (usually -2EV, 0EV, +2EV). For spaces with strong contrast such as rooms with bright windows – dark interiors, it can be expanded to ±3EV.
- Remote trigger / timer: Avoid camera shake when pressing the shutter button.
- Low ISO (100-200): Limit noise, keep image details.
- Aperture f/8 – f/11: Ensure uniform sharpness across the frame, especially in interior spaces.
2. Select & merge photos
- From the series of photos, choose 3–5 photos that match the most balanced light and dark.
- Merge photos using HDR software to balance the light of the entire frame, avoiding overexposed windows or dark interiors.
HDR Post-Production – Blending & Editing

a. Lightroom HDR Merge
- Go to menu: Photo > Merge > HDR.
- Advantages: Fast, natural colors, suitable for projects with a large number of photos.
- Disadvantages: Less detailed customization, difficult to deeply intervene in bright and dark areas.
b. Photoshop Blending (more advanced)
- Import photos into Photoshop and Align Layers to match the frame.
- Use Layer Mask or Luminosity Mask to select bright and dark areas.
- Advantages: High control, giving subtle results – suitable for taking photos of villas, penthouses, luxury hotels.
- Disadvantages: Longer processing time, requires skilled technicians.
c. Specialized software
- Photomatix Pro: Has many HDR presets optimized for real estate photos, saving time.
- Aurora HDR: Apply AI to blend naturally, easily achieve the “Natural HDR Look” style.
- Enfuse (Lightroom Plugin): Uses Exposure Fusion technique, helps keep color and contrast neutral.
Common mistakes when blending HDR (and how to fix them)
- Colors are too harsh: Due to increasing saturation too high → Reduce saturation, prioritize vibrance to keep it natural.
- Halo around windows or walls: Due to incorrect blending → Use Luminosity Mask in Photoshop to remove it.
- Too much noise: Usually due to high ISO or lack of light → Shoot at low ISO with tripod, then denoise with Topaz Denoise AI / Lightroom Denoise.
- Photos look fake: Overusing HDR presets → Keep the Natural HDR Look style, prioritize the authenticity of the space.
Professional HDR service at Kolorheaven
With HDR service at Kolor Heaven, real estate images are processed from multiple exposure layers to achieve balanced light, natural color and clear details. Customers can choose Basic, Standard or Premium packages depending on their needs.
The difference shows the professionalism of Kolor Heaven:
- Standardized post-production process, ensuring consistent quality between all projects.
- Fast delivery time (24-48 hours) but still maintaining high accuracy.
- Experienced editorial team, knowledgeable about the characteristics of real estate images.
- Flexible service packages to meet many customer segments.
- Committed to providing images that meet international standards, maximum support for sales.
Conclusion
Understanding the advantages of HDR and choosing the right service package will help your real estate stand out, avoiding the limitations of conventional photography. If you do not have enough experience or resources for post-processing, cooperating with a professional unit like Kolor Heaven is the optimal solution. Kolor Heaven is not only simple.
Contact us
- Phone: +84 0899 779 111
- Email: kolorheaven@cskolorheaven.com
- Address: The 3th floor, Block TT 55–56, Tu Hiep, Thanh Tri, Hanoi.